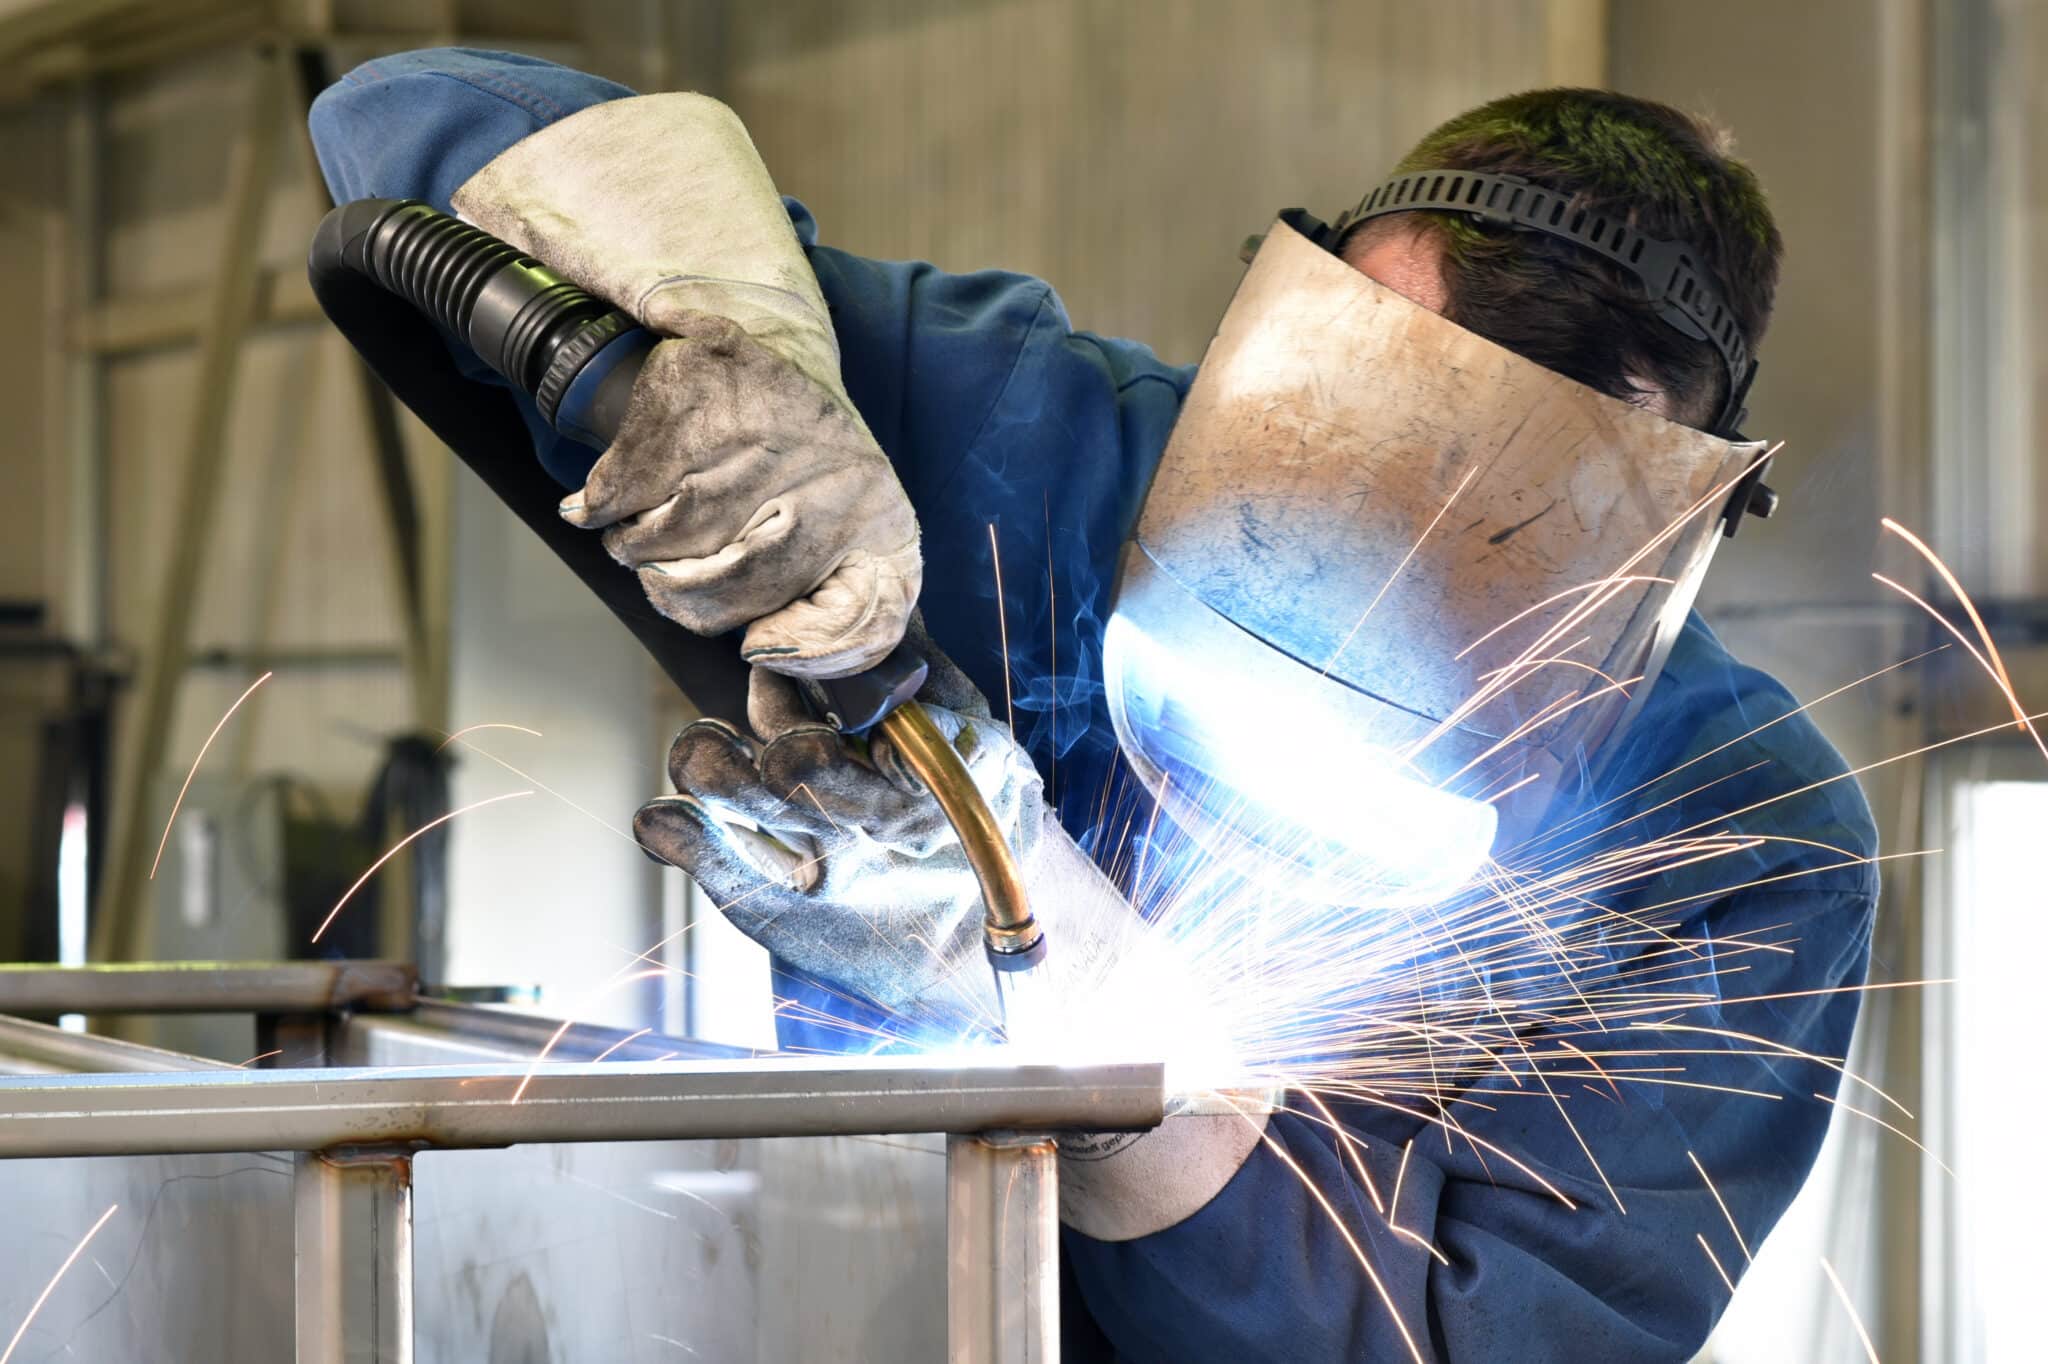
Stick welding, also known as Manual Metal Arc (MMA) welding or Shielded Metal Arc Welding (SMAW), is a cornerstone welding process that has been used for many decades. For many welders, it is often the first welding process they learn. Whether you are a beginner looking to get started with stick welding or a veteran looking to refresh your skills, this guide will walk you through the basics of stick welding, its pros and cons, and its applications.
Stick welding started as a simple manual process where an electrode was manually struck on the metal surface to create an arc, giving it its name, MMA welding. Over time, this technique has evolved to include flux coatings on the electrode, which help to protect the molten weld pool from atmospheric contamination, making it a more efficient and reliable process.
Stick welding uses an electric current to create an arc between the stick electrode (which serves as both the filler metal and the flux) and the base metal. As this arc heats up, it melts both the electrode and the base metal, creating a molten pool. As the electrode is moved along the joint, it deposits the molten metal into the weld joint, creating a strong bond between the two pieces of metal. The flux coating protects the weld from the atmosphere, making it a great option for outdoor or windy conditions where other welding processes may struggle.
Stick welding requires minimal equipment and can be done with a basic welding machine, stick electrodes, and protective gear. Let’s get into some of the equipment needed in order to stick weld:
Because of its simplicity and affordability, stick welding is often the go-to choice for beginners and DIY enthusiasts.
If you have all of the equipment needed to stick weld, follow these steps to successfully complete a weld:
While this process seems simple on paper, it takes time and hands-on experience to master stick welding. If you can, shadow an experienced welder to learn the proper techniques. Keep in mind that different types of stick welding electrodes may require slight variations in the welding process, so always refer to the manufacturer’s instructions for the best results.
No welding method is perfect, and stick welding is no exception. Consider these pros and cons before deciding if it is the best option for your project:
Versatility: Stick welding can be used on a wide range of metals, including steel, stainless steel, cast iron, and some non-ferrous metals. It is also well-suited for outdoor and fieldwork because it is less sensitive to wind and drafts compared to other welding processes.
Equipment Simplicity: Stick welding machines are relatively simple and portable, making them easy to transport and use in various locations.
Cost-Effective: The initial cost of stick welding equipment is generally lower than that of MIG or TIG welding setups. The electrodes are also typically less expensive than other consumables.
Strong, Versatile Welds: When performed correctly, stick welding produces high-quality welds with good mechanical properties. Stick welding can be used in various positions, including flat, horizontal, vertical, and overhead, offering flexibility for different welding scenarios.
Slag Formation: This process generates slag, which needs to be chipped away and cleaned after welding, adding an extra step and time to the process.
Spatter: Stick welding can produce significant spatter, which requires cleaning and can affect the appearance of the finished weld.
Speed: Stick welding is generally considered slower than other processes, such as MIG or TIG welding. The need to frequently change electrodes can slow down the welding process.
Limited Thin Metal Welding: Due to the high heat input and slower travel speed, stick welding may not be suitable for thin metal welding. Thinner metals are more prone to distortion and warping with stick welding.
If you are planning on using stick welding for your projects, take into consideration these pros and cons. It may be a good option for beginners or those looking for a cost-effective, versatile welding process. However, more experienced welders may prefer other processes that offer faster speeds and better control over heat input.
Mastering stick welding opens a world of opportunities, from creating custom metal projects to repairing equipment and structures. While other welding processes have gained popularity in recent years, stick welding has solidified its place in welding history and continues to be widely used today. If you are looking to refine your stick welding skills or practice on a new project, H&K Fabrication is here to help. We offer a variety of high-quality pipe fitting tools to help you perfect your stick welding technique. Take a look at our catalog or contact us for more information today!
© 2023 H&K Fabrication. All rights reserved. E-Commerce Website Design & E-Commerce PPC by Ranksey